A guide to open-air pottery firing techniques
This article explores various open-air pottery firing techniques, their benefits, and practical tips for successful implementation. Discover how to enhance your pottery-making experience through these traditional methods.
Open-air firing is a traditional pottery technique that utilizes natural elements, allowing potters to connect with the earth in a profound way. Historically, this method dates back thousands of years and has been practiced by various cultures around the world. From ancient Indigenous tribes to contemporary artists, the art of open-air firing has significant cultural importance, often serving as a communal activity that fosters creativity and bonding.
Unlike modern kiln firing, which relies on controlled environments and precise temperatures, open-air firing embraces the unpredictability of nature. This can lead to unique, one-of-a-kind results that reflect the potter's personal touch and the influence of the environment. Imagine the thrill of pulling a piece from the fire, uncertain of how it will look, yet excited by the possibilities. It's this element of surprise that makes open-air firing so captivating!
There are several types of open-air firing techniques, each with unique characteristics that can dramatically affect the outcome of your pottery. Let's take a closer look at the most common methods:
- Pit Firing: One of the oldest pottery firing techniques, involving a pit dug in the ground.
- Bonfire Firing: A communal and celebratory method that brings people together.
- Raku: Known for its vibrant glazes and dramatic effects, this method adds a touch of excitement to the process.
Pit firing is more than just a technique; it's a journey back in time. This method involves digging a pit in the ground, which becomes the heart of your firing adventure. The preparation of the pit is crucial, as it sets the stage for the magic to happen. The materials you choose play an essential role in the final outcome, influencing the colors and textures of your pottery. Think of it as a recipe where each ingredient contributes to the flavor of the dish.
When it comes to pit firing, selecting the right materials is crucial. Here are some essential components you'll need:
| Material Type | Description |
|---|---|
| Clay | Choose a type of clay that can withstand the intense heat. |
| Combustible Materials | Items like sawdust, straw, or leaves are used to create the fire. |
| Protective Elements | Use materials like sand or ashes to protect your pottery during firing. |
Now that you have your materials ready, let's dive into the step-by-step process for conducting a successful pit firing:
- Prepare the Pit: Dig a hole deep enough to accommodate your pottery and combustible materials.
- Layer the Materials: Start with a base of combustible materials, then place your pottery on top.
- Add More Combustibles: Cover your pottery with additional combustible materials, ensuring even coverage.
- Ignite the Fire: Light the fire and monitor it closely, adjusting as needed to maintain consistent heat.
- Cool Down: Once the firing is complete, allow the pit to cool before carefully excavating your pottery.
Bonfire firing is a delightful way to bring people together. Imagine a gathering where friends and family come together to create art and celebrate the process. This communal aspect adds a layer of joy and creativity to the experience. Setting up for a bonfire firing requires some planning, but the rewards are well worth it. The vibrant flames not only fire your pottery but also create a lively atmosphere filled with laughter and shared stories.
Raku is a unique open-air firing technique that is celebrated for its vibrant glazes and dramatic effects. The raku process is an exciting blend of preparation, firing, and post-firing techniques that can yield stunning results. The anticipation builds as you prepare your pieces, knowing that the outcome could be anything from breathtaking to unexpected!
Preparation is key for a successful raku firing. Gather the necessary tools and materials, and don't forget to consider safety precautions. You'll need:
- Raku kiln or a suitable alternative
- Heat-resistant gloves and protective eyewear
- Reduction materials such as sawdust or newspaper
Safety should always be a priority when working with fire. Ensure you have a safe workspace and proper ventilation to avoid any mishaps.
Once the raku firing is complete, the fun doesn't stop there! Post-firing techniques can significantly impact the final appearance of your pottery. Cooling your pieces quickly can create dramatic effects, while reduction techniques can enhance glaze colors and textures. Think of it as giving your pottery a final polish, ensuring it shines just the way you envisioned it.
What is the best clay for open-air firing? Generally, earthenware clay is preferred due to its ability to withstand the low temperatures of open-air firing.
Can I use any combustible materials? While many materials can be used, it's essential to avoid anything toxic or that produces harmful fumes.
How long does the firing process take? The duration can vary, but typically, pit and bonfire firings take a few hours, while raku firings can be quicker, often under an hour.
Is open-air firing safe? Yes, as long as you follow safety precautions and monitor the fire closely.
Understanding Open-Air Firing
Open-air firing is not just a technique; it's a captivating journey through history that connects us to our ancestors and their artistry. This traditional pottery method relies on the elements of nature, utilizing fire, air, and earth to transform raw clay into beautiful ceramic pieces. Unlike modern kiln firing, which offers precise control over temperature and environment, open-air firing embraces unpredictability, allowing for unique and often surprising results.
The origins of open-air firing can be traced back thousands of years, with evidence found in various cultures around the globe. From the ancient Native American tribes to the indigenous peoples of Africa and Asia, open-air firing has played a significant role in cultural expression and community bonding. Each culture has its own variations and techniques, making the exploration of open-air firing a rich tapestry of human creativity.
So, what makes open-air firing stand out from other pottery methods? For starters, it offers an intimate experience with the materials and environment. The process often involves communal gatherings where potters come together to share their techniques, stories, and results. This social aspect not only fosters creativity but also strengthens community ties.
Moreover, open-air firing allows for a diverse range of finishes and textures that are often unattainable in controlled kiln environments. The interaction of flames, smoke, and ash with the pottery creates stunning effects that can vary dramatically from one piece to another. This element of surprise is one of the most thrilling aspects of open-air firing, as no two pieces will ever be exactly alike.
In essence, understanding open-air firing is about appreciating the balance between control and chaos. It invites potters to embrace the unexpected, turning potential mishaps into unique artistic expressions. Whether you're a seasoned potter or a curious beginner, exploring open-air firing techniques can profoundly enhance your pottery-making experience.
As you delve deeper into this fascinating world, you'll discover that open-air firing is not merely a method—it's a celebration of creativity, culture, and community. Are you ready to embark on this adventure and uncover the secrets of open-air pottery firing?
Types of Open-Air Firing
Open-air firing techniques are as diverse as the potters who practice them. Each method has its own unique charm, and understanding these techniques can elevate your pottery-making experience. In this section, we will explore some of the most common types of open-air firing methods, including pit firing, bonfire firing, and raku firing. Each of these techniques offers distinct characteristics that influence not only the firing process but also the final aesthetic of the pottery.
Let's dive deeper into each of these methods:
Pit firing is one of the most ancient pottery techniques, believed to date back thousands of years. This method involves digging a pit in the ground, which serves as the firing chamber. Potters arrange their clay pieces within the pit alongside combustible materials such as sawdust, leaves, and even organic materials like corn husks. When the fire is lit, the heat and smoke interact with the clay, creating unique surface effects that cannot be replicated in a kiln.
Bonfire firing is not just a technique; it's a celebration! This communal method often brings together potters and enthusiasts who gather around a large fire to create beautiful pottery. The setup is relatively simple, usually involving a large bonfire where pots are placed strategically around the flames. The social aspect of bonfire firing makes it a joyous occasion, allowing artists to share their techniques and stories while enjoying the warmth of the fire.
Raku firing is a unique method that originated in Japan and is known for its vibrant glazes and dramatic effects. Unlike traditional firing methods, raku involves removing pots from the kiln while they are still hot and placing them in combustible materials such as straw or newspaper. This sudden change in environment leads to a reduction process that creates stunning metallic and crackled surfaces. Raku is not just a firing method; it's an art form that allows for creativity and experimentation.
To summarize, here’s a quick comparison of the three types of open-air firing techniques:
| Technique | Characteristics | Final Effects |
|---|---|---|
| Pit Firing | Ancient method, uses a dug pit, incorporates organic materials. | Unique surface effects, earthy tones, and unpredictable results. |
| Bonfire Firing | Communal, celebratory, uses a large bonfire. | Varied results, often influenced by the materials used and pot placement. |
| Raku Firing | Quick removal from the kiln, reduction process. | Vibrant glazes, dramatic crackle effects, and metallic finishes. |
Each of these open-air firing techniques offers a distinctive experience for potters. Whether you're drawn to the ancient roots of pit firing, the community spirit of bonfire firing, or the artistic flair of raku, exploring these methods can deepen your appreciation for the art of pottery. So, which technique will you try first?
Q: What is the best method for beginners?
A: Pit firing is often recommended for beginners due to its simplicity and the natural materials used. It allows for experimentation without the need for specialized equipment.
Q: Can I use any type of clay for open-air firing?
A: While you can use various types of clay, it’s best to choose clay that is specifically designed for low-fire techniques to ensure better results.
Q: How do I ensure safety during open-air firing?
A: Always have a fire extinguisher or a bucket of water nearby, work in a safe outdoor environment, and wear protective gear like gloves and goggles.
Pit Firing
Pit firing is one of the most ancient and fascinating pottery firing techniques, dating back thousands of years. Imagine digging a hole in the earth, filling it with your handcrafted ceramics, and then surrounding them with a mix of combustible materials. This process connects you to generations of artisans who have used this method to create beautiful and unique pieces. The beauty of pit firing lies not just in the end product, but in the entire experience of engaging with nature and the elements.
To embark on a successful pit firing adventure, you’ll need to pay attention to a few critical elements. First and foremost, the materials you select will greatly influence the outcome of your pottery. The type of clay you use, the combustible materials you choose, and even the protective elements you incorporate will all play a role in the final look of your pieces. For instance, using different types of wood, leaves, or even sawdust can result in a variety of textures and colors on your pottery. This is where your creativity can really shine!
When preparing for pit firing, consider the following essential materials:
- Clay: Choose a clay that can withstand the heat of the fire. Earthenware or stoneware clays are popular choices.
- Combustible Materials: Gather items like wood shavings, straw, or dried leaves to create the fire. Each material will yield different effects.
- Protective Elements: You might want to include items like salt or copper carbonate to produce unique color effects on your pottery.
Now, let’s dive into the steps for successful pit firing. The process is both simple and rewarding, allowing you to connect deeply with your work and the environment:
- Prepare the Pit: Start by digging a pit in a safe location, ensuring it's deep enough to accommodate your pottery and combustible materials.
- Layer the Materials: Place your pottery at the bottom of the pit, then layer it with your chosen combustible materials. Be creative! The arrangement will influence the final outcome.
- Ignite the Fire: Light the fire, ensuring it burns evenly. You may need to add more materials as the fire burns down to maintain a consistent heat.
- Monitor the Process: Keep an eye on the firing process. The heat should be maintained for several hours to ensure the pottery is properly fired.
- Cool Down: Once the firing is complete, allow the pit to cool down naturally. This is a crucial step, as rapid cooling can crack your pottery.
As you can see, pit firing is not just about creating pottery; it’s an experience that engages all your senses. The smell of burning wood, the crackling of the fire, and the anticipation of unveiling your finished pieces make it a memorable journey. Each piece that emerges from the pit is a testament to your craftsmanship and the natural elements that shaped it. So, gather your materials, dig that pit, and let the fire work its magic!
Q: What type of clay is best for pit firing?
A: Earthenware and stoneware clays are ideal as they can withstand the high temperatures of pit firing.
Q: How long does the pit firing process take?
A: The entire process can take anywhere from several hours to a full day, depending on the size of the pit and the materials used.
Q: Can I pit fire indoors?
A: No, pit firing should always be done outdoors due to the smoke and heat generated during the process.
Materials Needed for Pit Firing
When it comes to pit firing, selecting the right materials is crucial for achieving the best results. This ancient technique, which dates back thousands of years, relies heavily on the interaction between the clay, combustible materials, and the environment. First and foremost, you will need the right type of clay. Not all clays are created equal; for pit firing, it's best to use a clay that can withstand the high temperatures generated during the process. Common choices include earthenware or stoneware clays, which can handle thermal shock and provide a sturdy base for your pottery.
Next, let's talk about the combustible materials. These are essential for generating the heat required to fire your pottery. You can use a variety of materials, including:
- Wood shavings - They burn quickly and create a lot of heat.
- Dry leaves - These can add interesting textures and patterns to your pottery.
- Straw - A great insulator that helps maintain the temperature.
- Cardboard - Easy to find and burns well, creating a nice flame.
In addition to these combustibles, you might want to consider adding natural materials to your pit firing setup. Items like salt or copper carbonate can be sprinkled onto your pottery before firing to create unique color effects. The interaction between these materials and the heat can lead to stunning results that are difficult to replicate through other firing methods.
Finally, don’t forget about the protective elements. These are crucial for ensuring that your pottery doesn’t get damaged during the firing process. A good idea is to use a layer of sand or sawdust to cushion your pots. This layer not only protects your pottery from direct contact with the fire but also helps to distribute heat evenly throughout the firing chamber.
In summary, successful pit firing requires a careful selection of materials. By combining the right clay, combustibles, natural additives, and protective elements, you can create a firing environment that enhances the beauty and uniqueness of your pottery. So gather your materials, prepare your pit, and get ready to embark on an exciting journey into the world of open-air pottery firing!
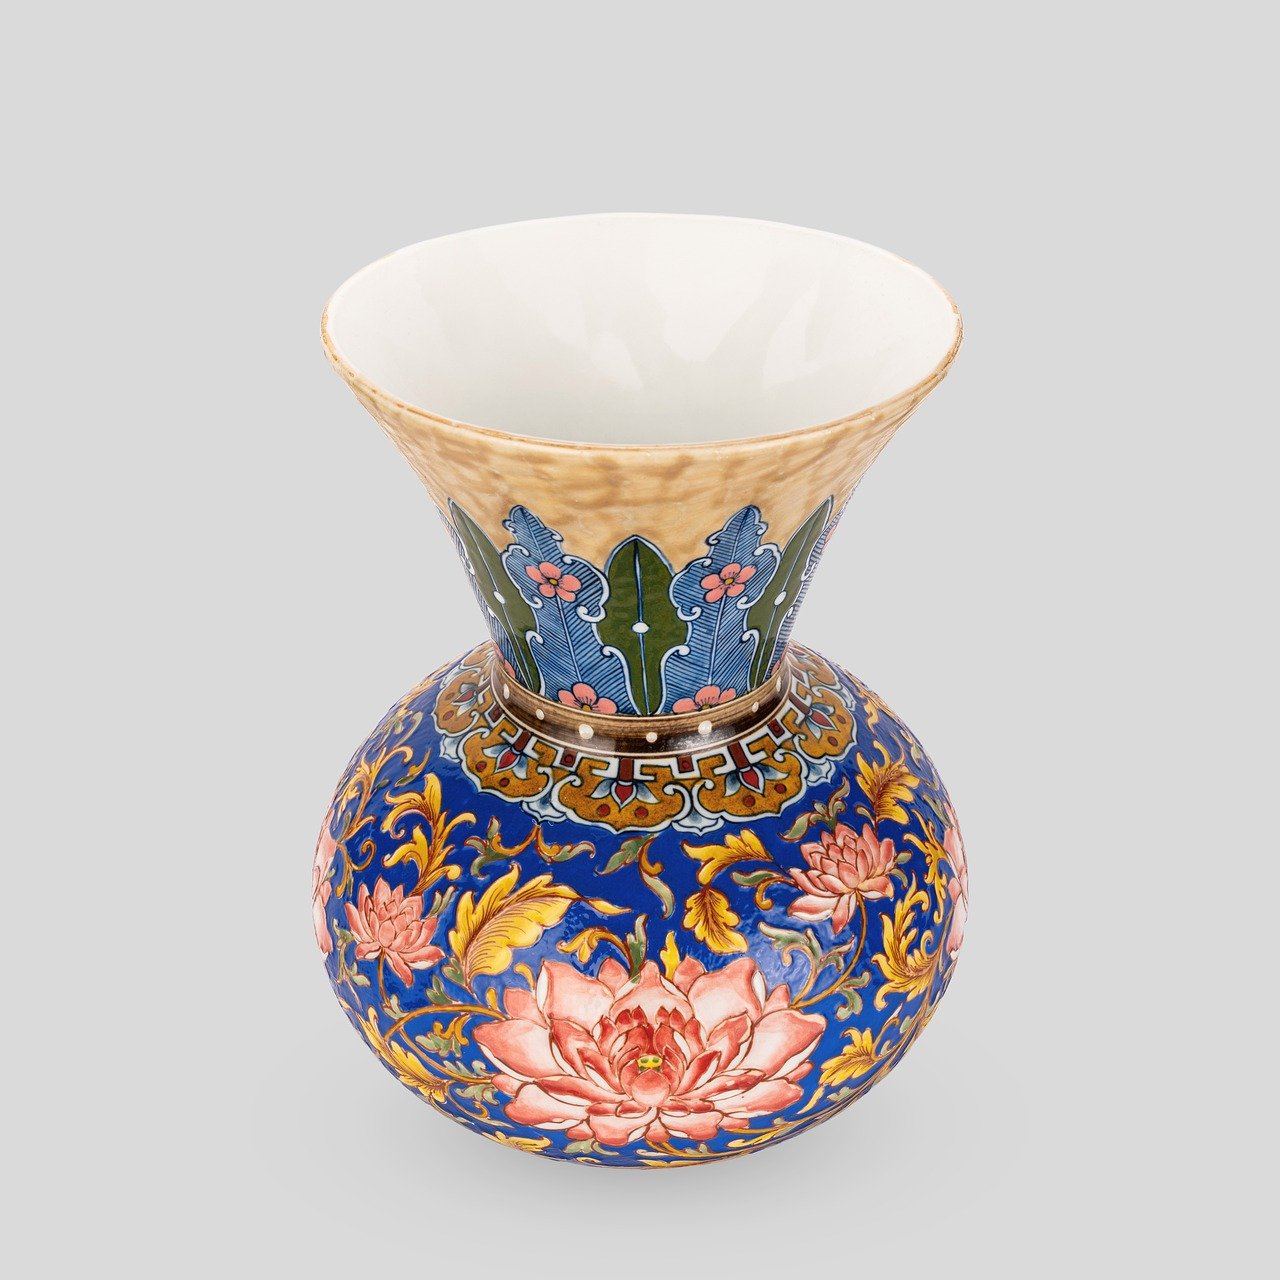
Steps for Successful Pit Firing
Pit firing is an ancient and fascinating technique that allows potters to create unique and beautiful pieces using simple materials and natural elements. To achieve successful results, it’s important to follow a series of well-defined steps that will guide you through the process. First, you’ll want to choose the right location for your pit. Look for an open area away from flammable materials and ensure you have permission to fire in that space. Once you've found the perfect spot, it’s time to start digging!
Digging a pit is the next step, and the size of the pit will depend on how many pieces you plan to fire. A depth of about 12 to 18 inches is generally sufficient. As you dig, think of the pit as a small earth oven, where your pottery will undergo a transformative journey. After you’ve prepared the pit, it’s essential to gather your materials. You’ll need not only your clay pieces but also combustible materials such as sawdust, leaves, and wood shavings. These materials will create the necessary heat and atmosphere for the firing process.
Now comes the exciting part: arranging your pottery in the pit. Carefully place your clay pieces in the pit, ensuring they are not touching each other. This is crucial as it allows the heat to circulate evenly around each piece. Once your pottery is in place, cover it with a layer of combustible materials. This layer acts as a blanket, trapping heat and smoke, which contributes to the unique finishes you will achieve.
After covering your pottery, it’s time to ignite the fire. Use kindling to start a small fire on top of the combustible materials. As the fire grows, it will consume the materials and generate intense heat. This is where the magic happens! You’ll want to keep an eye on the fire, adding more combustible materials as needed to maintain a steady burn. The firing process can last anywhere from a few hours to an entire day, depending on the size of your pit and the materials used.
During the firing, it’s important to monitor the temperature and the flames. You may want to use a thermometer to gauge the heat if you have one available. Once the firing reaches the desired temperature, you can start the cooling process. This is where you need to exercise caution. Allow the fire to burn down and the pit to cool naturally. Rushing this process can result in cracking or breaking your pottery.
Finally, when the pit is cool enough to touch, it’s time to unveil your creations! Carefully remove the ashes and reveal your pottery. The results can be stunning, showcasing unique colors and textures that are characteristic of pit firing. Remember, each firing is a new adventure, and the outcomes can vary greatly, making this technique both unpredictable and thrilling!
In summary, successful pit firing involves careful planning and execution. From choosing the right location and materials to monitoring the fire and cooling process, each step plays a vital role in achieving beautiful pottery. So gather your materials, dig that pit, and let the flames work their magic!
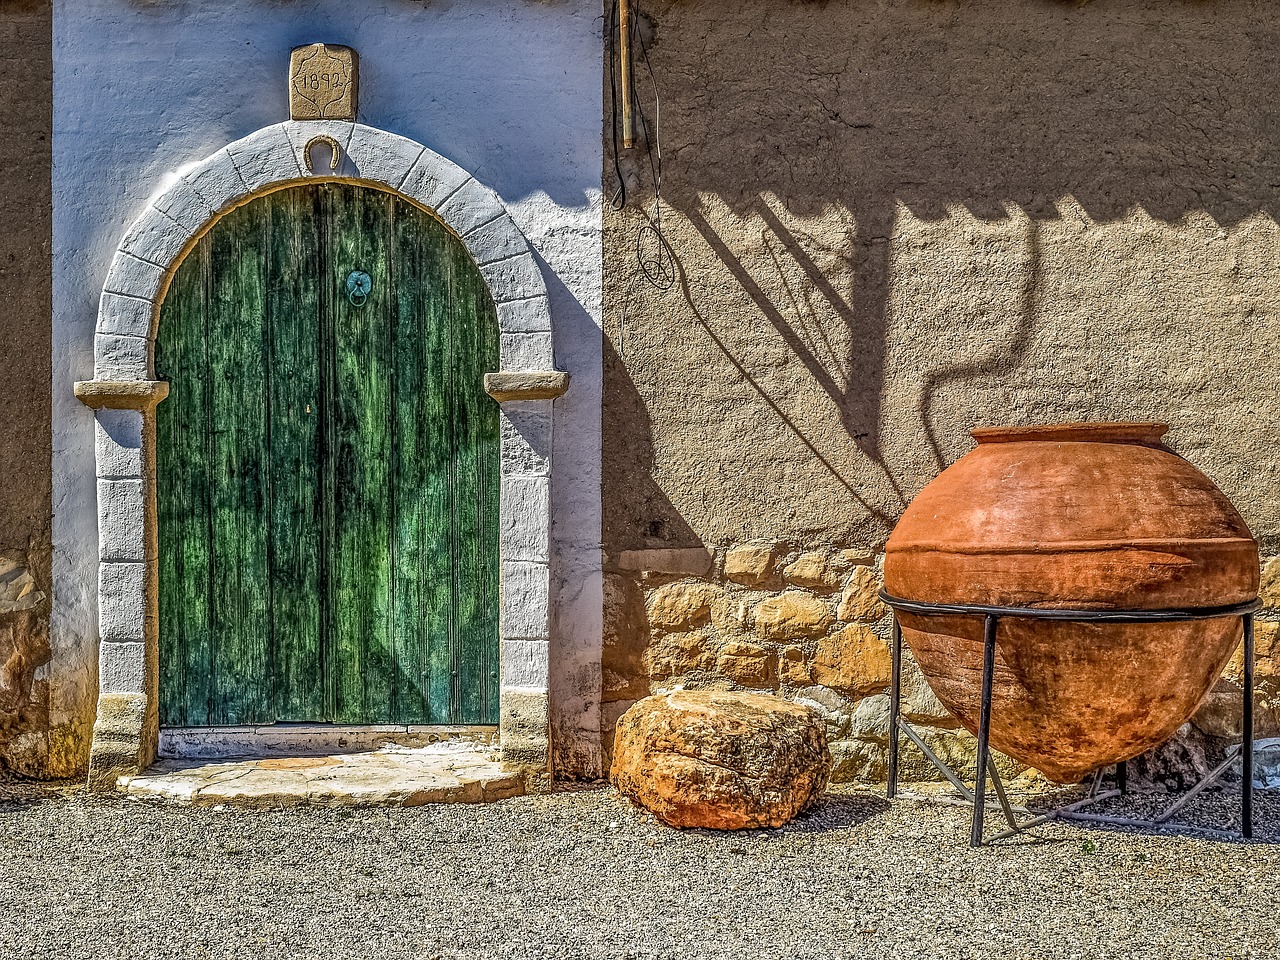
Bonfire Firing
Bonfire firing is not just a method; it's an experience that brings people together while creating stunning pottery. Imagine a circle of friends gathered around a roaring fire, the air filled with laughter and the smell of burning wood. This communal aspect is what makes bonfire firing so special. It’s a celebration of creativity, where each piece of pottery tells a story. The process involves placing your pottery among combustible materials, allowing the flames to dance around them, creating unique textures and colors that can’t be replicated in a kiln.
The setup for bonfire firing is relatively straightforward but requires some planning. First, you need to choose a safe location, preferably an open area away from flammable structures. A fire pit or a designated bonfire area works best. Next, gather your materials. You’ll need your pottery, of course, but also a variety of combustible materials like sawdust, leaves, and shredded paper to enhance the firing process. The choice of materials can significantly affect the final outcome, so don't hesitate to experiment!
Once your bonfire is roaring, it's time to place your pottery. Carefully arrange your pieces in the fire pit, ensuring they are surrounded by your combustible materials. The flames will create a reduction atmosphere, which is essential for achieving those vibrant colors and dramatic effects that bonfire firing is known for. As the fire burns, keep an eye on the pottery; you want to ensure it gets enough heat without being directly exposed to overly intense flames.
Another fascinating aspect of bonfire firing is the unpredictability of the results. Each firing is a unique event influenced by the materials used, the weather, and even the mood of the participants. This unpredictability can lead to delightful surprises, such as unexpected color changes or interesting surface textures. It’s like opening a gift—there’s always that thrill of not knowing what you’ll find inside!
After the firing is complete, allow the pottery to cool down in the ashes. This step is crucial, as rapid cooling can cause cracks or breaks. Once cooled, you can unearth your creations and reveal the stunning results. Many artists choose to enhance their pieces further with finishing touches, like polishing or applying additional glazes, but some prefer to leave them as is, celebrating the raw beauty of the bonfire firing process.
In conclusion, bonfire firing is more than just a technique; it’s a joyful gathering that fosters creativity and connection. Whether you’re a seasoned potter or a curious beginner, this method invites you to explore the art of pottery in a whole new light. So why not gather some friends, light up a bonfire, and see what magic unfolds?
- What materials are best for bonfire firing?
Using a mix of organic materials like leaves, wood shavings, and paper can create interesting effects. Experimentation is key!
- How long does bonfire firing take?
The firing process can take several hours, depending on the size of the fire and the materials used. It's important to monitor the pottery throughout.
- Can I use any type of clay for bonfire firing?
While earthenware clay is commonly used, it's best to choose a clay that can withstand the high temperatures of a bonfire.
- What should I do if my pottery cracks during firing?
Cracking can happen due to rapid cooling or thermal shock. To minimize this risk, allow your pieces to cool gradually in the ashes.
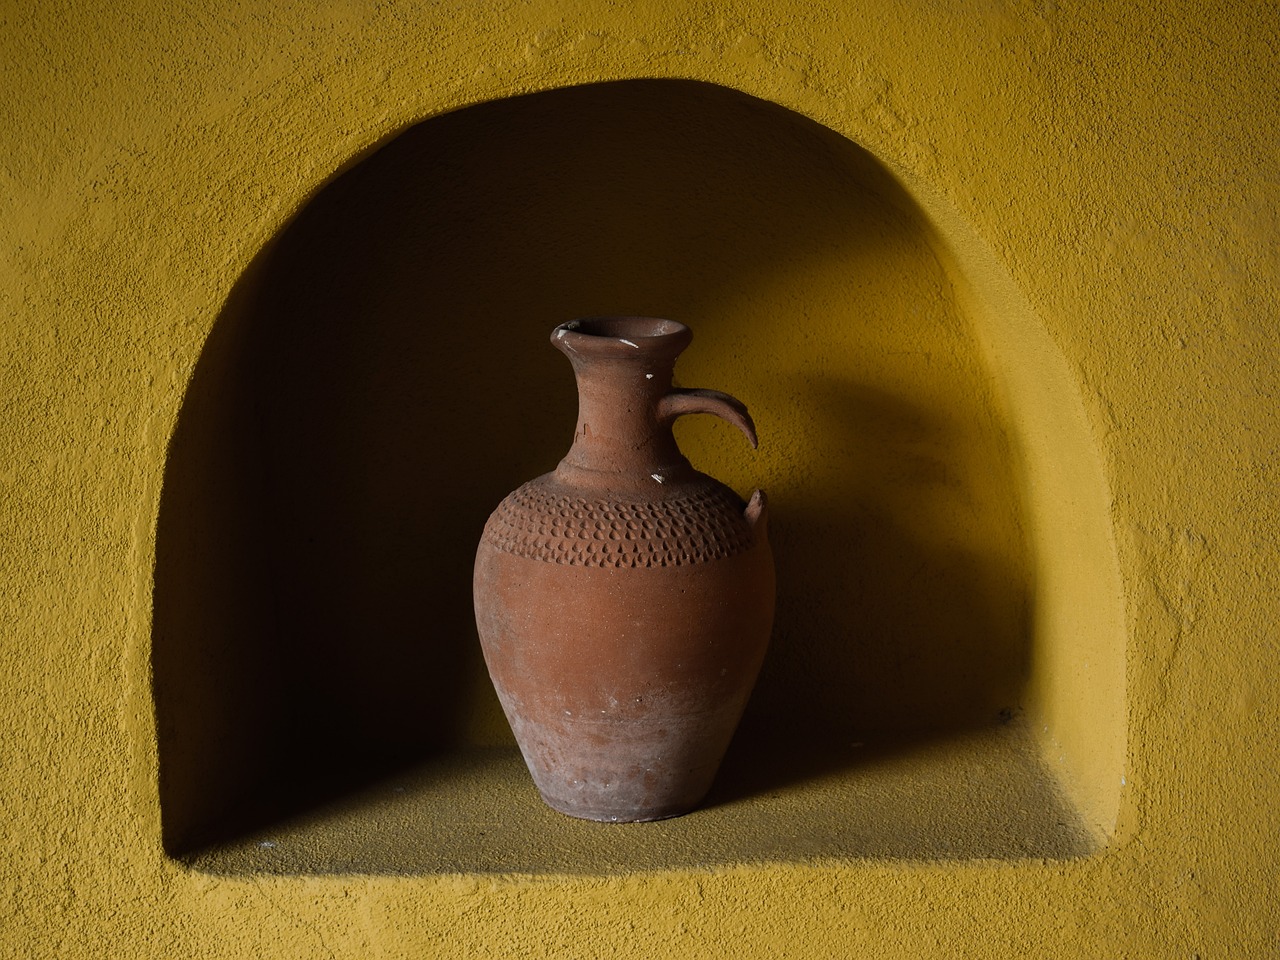
Raku Firing Techniques
Raku firing is not just a method; it's an experience that transforms raw clay into stunning works of art. This ancient Japanese technique is renowned for its vibrant glazes and unpredictable results, making each piece unique and full of character. Imagine pulling a glowing pot from the fire, only to reveal a breathtaking array of colors that dance across its surface! The process is both thrilling and meditative, drawing potters into a world where creativity and spontaneity reign supreme.
To get started with raku firing, preparation is key. You’ll need a few essential tools and materials to ensure a successful firing. First, gather your raku clay, which is specifically formulated to withstand the rapid temperature changes associated with this technique. Next, you’ll need a raku kiln, which can be as simple as a metal container or a more elaborate setup. Don’t forget your safety gear—heat-resistant gloves and goggles are a must! And, of course, you’ll want to have a selection of glazes that can withstand the high temperatures and produce those stunning effects.
The raku firing process itself can be broken down into several crucial steps. Initially, you’ll prepare your pottery by applying glaze and allowing it to dry completely. Once your pieces are ready, the excitement begins! You’ll load your kiln and ignite the fire, watching as the temperature climbs to around 1,800°F (1,000°C). This is where the magic happens! The intense heat causes the glaze to melt and develop its characteristic finish.
After reaching the desired temperature, it’s time for the dramatic moment of removal. Using long-handled tools, carefully extract your pieces from the kiln and place them into a combustible material, such as sawdust or leaves. This step creates a reduction atmosphere, which is essential for producing those vibrant colors and metallic sheens. The smoke from the combustibles interacts with the hot glaze, leading to unexpected and beautiful results. It’s like a dance between fire and clay—each piece a testament to the unpredictable nature of art!
Once the pieces are cooled, you’ll want to carefully clean them to reveal their final appearance. This is where post-firing techniques come into play, allowing you to enhance the beauty of your raku pottery. Techniques such as polishing or applying additional finishes can elevate your work even further, ensuring that each piece is not only unique but also a true reflection of your artistic vision.
- What is the best clay to use for raku firing? Raku clay is specifically formulated to withstand the rapid temperature changes during firing. Look for clay that is labeled as raku clay for the best results.
- Can I use regular glazes for raku firing? While some regular glazes can work, it’s best to use glazes specifically designed for raku firing to achieve the desired effects and color vibrancy.
- Is raku firing safe? Yes, but safety precautions are crucial. Always wear heat-resistant gloves and goggles, and work in a well-ventilated area to avoid inhaling smoke or fumes.
- How long does the raku firing process take? The entire process, from loading the kiln to cooling the pieces, usually takes a few hours. However, the actual firing time is relatively short, often around 30 minutes to an hour.
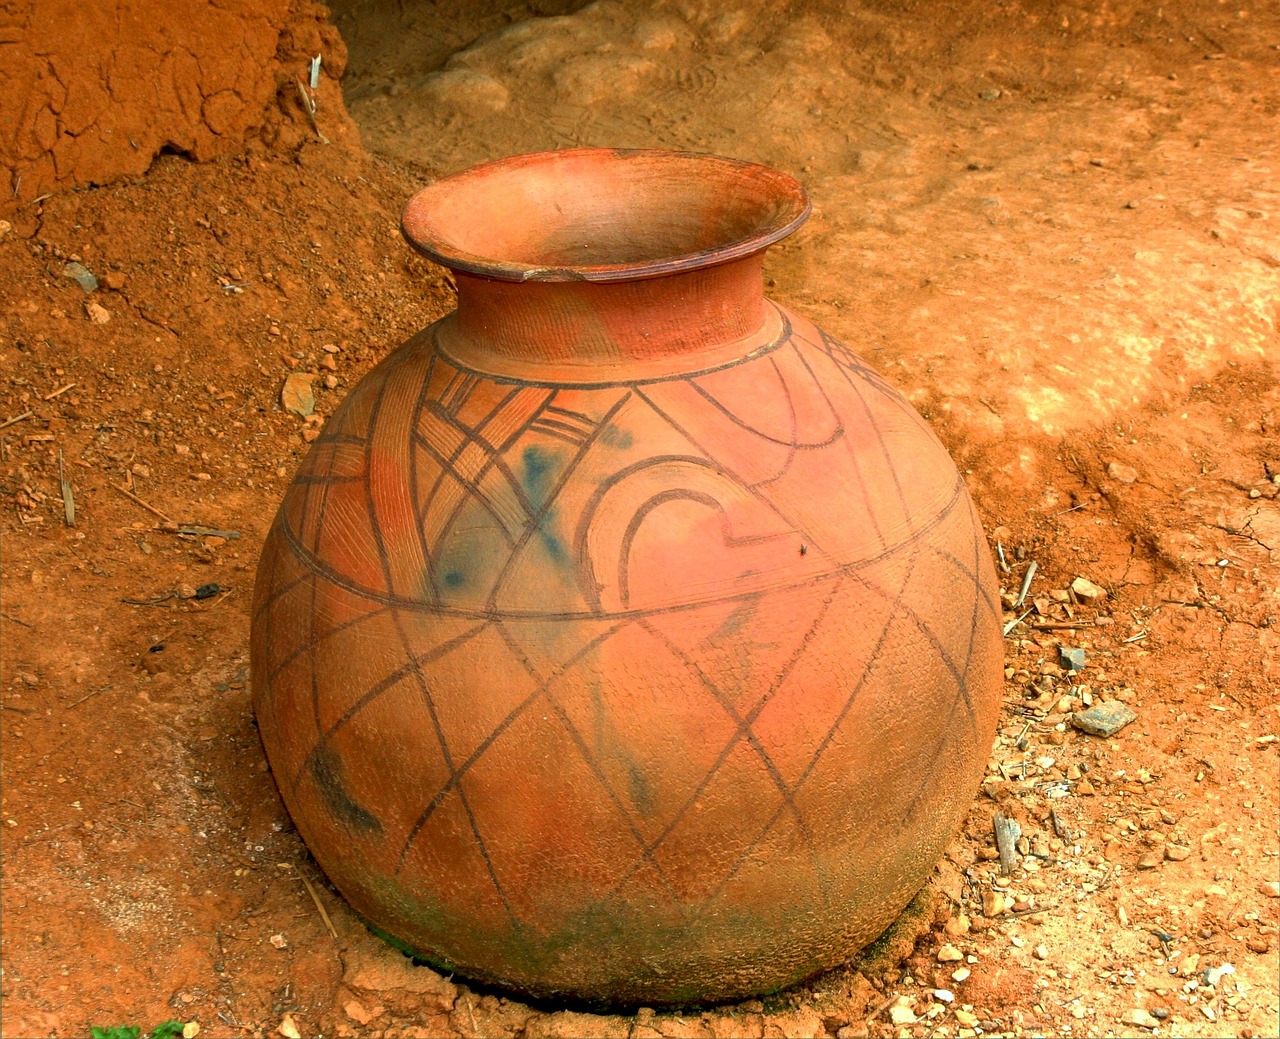
Preparing for Raku Firing
Preparing for raku firing is an exciting step in the pottery-making journey, but it requires careful consideration and planning. Raku is not just about the firing process; it’s a blend of art, chemistry, and a bit of magic. Before you dive into the flames, let’s explore the essential tools, materials, and safety precautions that will set you up for success.
First and foremost, you’ll need to gather your materials. The core of your raku pottery will be the clay, which should be specifically formulated for raku. This type of clay can withstand the rapid temperature changes that occur during firing. Additionally, you’ll need glazes designed for raku, as they react differently under the intense heat of the firing process. If you’re unsure about which glazes to use, consider experimenting with a few options to see which ones yield the most visually stunning results.
Next, let’s talk about the tools you’ll require. Here’s a quick rundown of the essentials:
- Raku kiln: This is a small, portable kiln specifically designed for raku firing.
- Heat-resistant gloves: Protect your hands from the extreme heat.
- Tongs: For safely handling hot pieces.
- Reduction chamber: A container for post-firing reduction, often made from metal or a similar material.
- Safety goggles: Always prioritize your safety when working with high temperatures.
Safety is paramount when preparing for raku firing. Make sure to work in a well-ventilated area to avoid inhaling any harmful fumes. It’s also wise to have a fire extinguisher nearby, just in case things get a bit too hot to handle. Additionally, wearing long sleeves and pants can help protect your skin from any potential burns. Remember, safety first!
As you gather your materials and tools, consider the aesthetic aspects of your raku firing as well. The unique effects created during the raku process can be enhanced by the way you arrange your pieces in the kiln. Think about how the heat will interact with the glazes and the clay body. You can even experiment with different placements to achieve various results. For example, placing pieces closer to the heat source may yield different glaze effects compared to those positioned further away.
Finally, don’t forget to prepare your firing schedule. Raku firing is often a communal event, so if you’re working with a group, coordinate with others to ensure everyone is ready and that the firing goes smoothly. Having a plan in place will help you manage your time effectively and make the most out of this thrilling pottery-making experience.
In summary, preparing for raku firing is an essential step that combines the right materials, tools, safety precautions, and artistic considerations. By taking the time to prepare properly, you’ll set yourself up for a successful and rewarding raku firing experience that will leave you with stunning pottery pieces that showcase your creativity and skill.
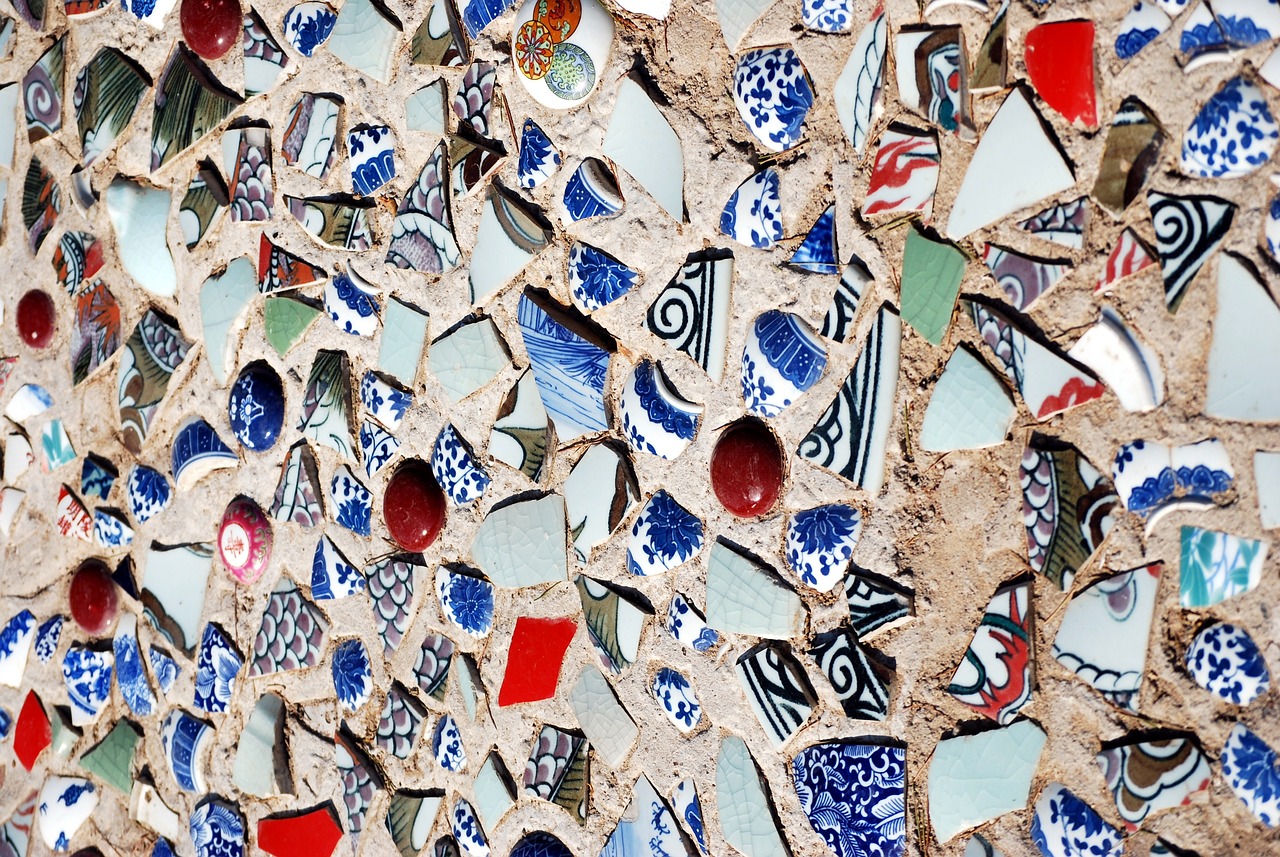
Post-Firing Techniques in Raku
Once the exhilarating experience of raku firing concludes, the journey of your pottery is far from over. In fact, the post-firing phase is where the magic truly happens. This is the time to enhance the vibrant glazes and dramatic effects that raku is renowned for, transforming your pieces into stunning works of art. But how do you achieve these captivating finishes? Let’s dive into the essential post-firing techniques that can elevate your raku pottery.
First and foremost, cooling your pieces properly is crucial. After removing your pottery from the kiln, it’s important to allow it to cool gradually. Rapid temperature changes can cause cracks or even breakage. A common practice is to place your hot pieces in a container filled with sawdust or leaves. This not only helps regulate the temperature but also adds an intriguing smoky finish to your pottery. As the materials combust, they create a beautiful contrast against the glaze, resulting in unique patterns that are characteristic of raku.
Once your pieces have cooled down, the next step involves the reduction process. This technique is what gives raku its signature metallic and iridescent glazes. To achieve this, you can place your pottery in a sealed container with combustible materials like newspaper or straw. As these materials ignite, they consume the oxygen in the container, causing a reduction atmosphere. This process alters the chemical composition of the glazes, leading to those eye-catching effects that raku pottery is famous for. Remember, the timing and materials used during this stage can significantly influence the final appearance of your work.
After reduction, it’s time to consider the finishing touches. Depending on your desired outcome, you might want to polish your pieces to bring out their luster. A simple method involves using a soft cloth to gently buff the surface, enhancing the shine and depth of color. Additionally, applying a clear sealant can help protect your pottery from moisture and wear, ensuring that your artistic creations remain stunning for years to come.
To summarize, the post-firing techniques in raku pottery are not just about preserving your work; they are about celebrating the unique characteristics that arise from the firing process. By mastering the cooling, reduction, and finishing stages, you can transform your raku pieces into true masterpieces. Remember, each piece is a reflection of your creativity and passion, so take the time to experiment and discover what works best for you.
- What is the best way to cool raku pottery after firing?
Allow the pottery to cool gradually in a container filled with sawdust or leaves to prevent cracking. - How does the reduction process affect the glaze?
The reduction process alters the chemical composition of the glaze, resulting in metallic and iridescent effects. - Can I use any type of sealant on raku pottery?
It is advisable to use a clear sealant specifically designed for pottery to ensure protection without compromising the glaze.
Frequently Asked Questions
- What is open-air pottery firing?
Open-air pottery firing is a traditional technique that uses natural elements and outdoor settings to fire pottery. It differs from conventional kiln firing by relying on the environment, making it a unique and often communal experience.
- What types of open-air firing techniques are there?
There are several popular open-air firing techniques, including pit firing, bonfire firing, and raku. Each method has its own unique process, materials, and outcomes, allowing for a variety of artistic expressions in pottery making.
- How do I prepare for pit firing?
Preparing for pit firing involves selecting the right clay, combustible materials, and protective elements. You'll also need to dig a pit and gather your materials in advance to ensure a smooth firing process.
- What materials are essential for pit firing?
Essential materials for pit firing include specific types of clay that can withstand the heat, combustible materials like wood shavings or sawdust, and protective elements such as metal mesh or rocks to shield your pottery during the firing.
- What is bonfire firing and how is it different from pit firing?
Bonfire firing is a more communal and celebratory method where pottery is fired in a large bonfire setup. Unlike pit firing, which is more contained, bonfire firing often involves a social gathering and can incorporate a variety of materials and techniques for a vibrant outcome.
- What safety precautions should I take for raku firing?
Safety is crucial in raku firing. Always wear protective gear, such as gloves and goggles, and work in a well-ventilated area. Be cautious of the high temperatures and the materials used, especially during the reduction phase.
- What are post-firing techniques in raku?
Post-firing techniques in raku can significantly enhance the final appearance of your pottery. These include cooling methods, reduction processes, and finishing touches like polishing or applying additional glazes to achieve the desired effects.
- How can I achieve unique effects in my pottery?
To achieve unique effects in your pottery, experiment with different firing techniques, materials, and glazes. Each method can yield surprising results, so don’t be afraid to mix things up and let your creativity shine!


