
Common Sewing Machine Problems and How to Fix Them
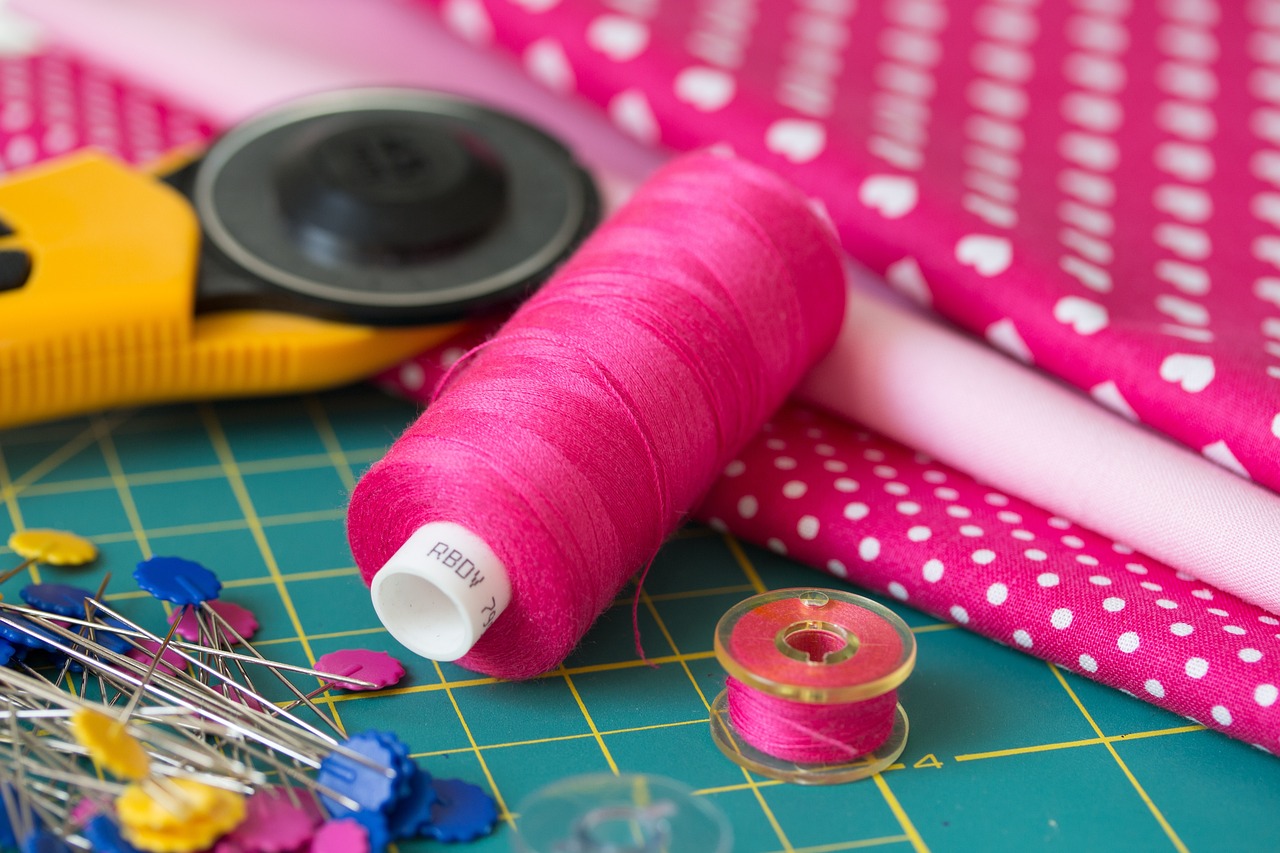
Welcome to the world of sewing, where creativity knows no bounds! However, just like any other mechanical tool, sewing machines can sometimes throw a wrench into your plans. Understanding common sewing machine problems and their solutions is essential for any sewing enthusiast, whether you're a beginner or a seasoned pro. This article will guide you through frequent issues you might encounter, helping you troubleshoot and resolve them effectively. By the end of this read, you'll be armed with the knowledge to ensure a smooth and efficient sewing experience!
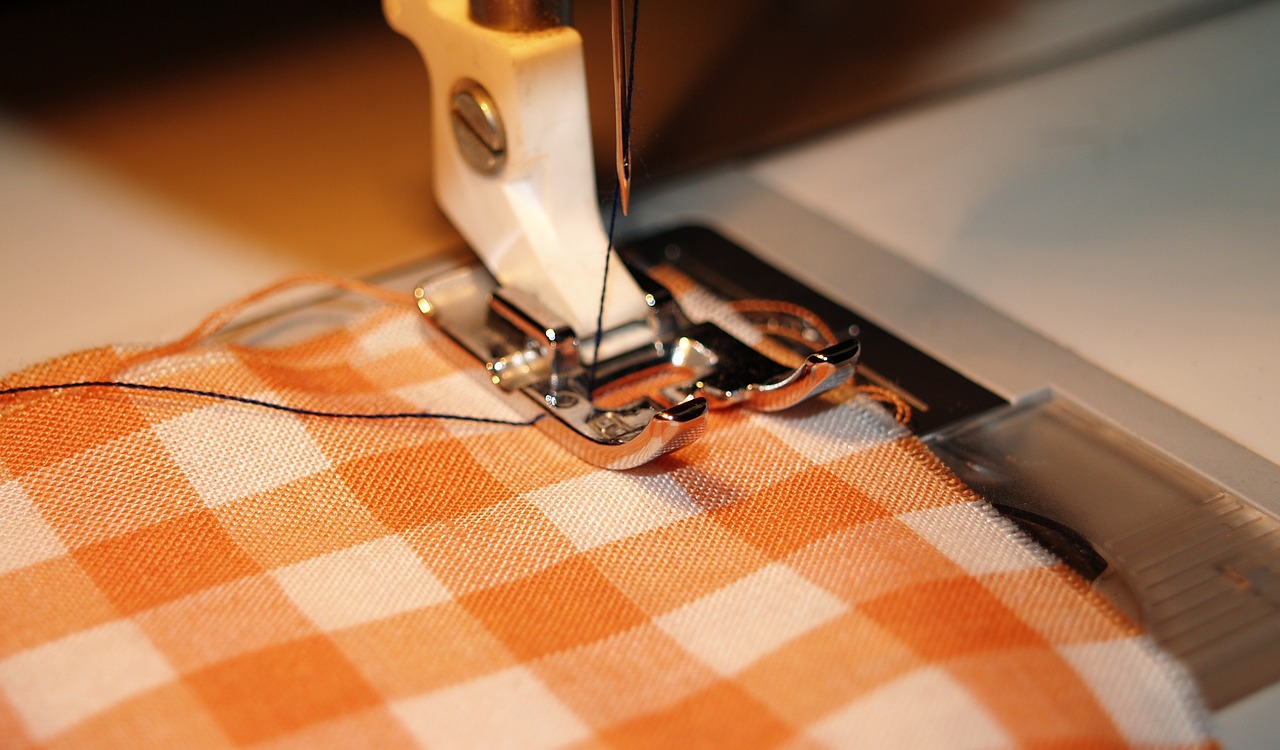
Ah, thread bunching! It's like that unexpected plot twist in your favorite movie—frustrating and often hard to understand. This issue typically arises when the thread gets tangled in the machine, leading to a messy finish on your fabric. The most common causes of thread bunching include improper threading, using the wrong thread tension, or even a dirty machine. To fix this, start by re-threading your machine, ensuring the thread follows the correct path. Check your tension settings—if they’re too tight, it can cause bunching. And don’t forget to give your machine a good clean; lint and dust can be the sneaky culprits behind this annoyance!
Needle breakage can feel like a sudden stop sign in the middle of a smooth drive. It halts your sewing project unexpectedly and can be quite alarming. Understanding the reasons behind needle breakage can help you prevent it in the future. The most common causes include using the wrong needle type, improper needle installation, and sewing through thick layers of fabric.
Using the wrong needle type for your fabric can lead to breakage. For instance, if you're sewing delicate fabrics with a heavy-duty needle, you're asking for trouble! Always ensure you select the appropriate needle for your project. Here’s a quick reference table to help you choose:
| Fabric Type | Recommended Needle Type |
|---|---|
| Woven Fabrics | Universal Needle |
| Knits | Ballpoint Needle |
| Denim | Jeans Needle |
| Silk | Microtex Needle |
Improper needle installation can also cause breakage. Always make sure the needle is securely and correctly placed in the machine. A needle that’s not inserted properly can wobble during sewing, leading to breakage. Take a moment to double-check your needle installation; it can save you a lot of headaches down the line!
Sewing through thick layers of fabric can strain the needle, causing it to snap. If you’re working with multiple layers or heavy materials, consider using a stronger needle designed for such tasks. This simple switch can make a world of difference!
Skipped stitches are another common annoyance that can ruin your sewing project. They can occur for various reasons, including improper needle size, incorrect threading, or even machine timing issues. To maintain consistent stitching, always use the correct needle size for your fabric and ensure your machine is threaded properly. If you notice skipped stitches, don’t panic! Just take a moment to re-evaluate these factors.
Machine jamming can disrupt your workflow and cause damage if not addressed promptly. It often occurs due to bobbin issues or lint build-up. Recognizing common jamming issues and their fixes can help keep your sewing machine running smoothly.
Problems with the bobbin can lead to jamming. Ensure that your bobbin is wound correctly and inserted properly into the machine. A poorly wound bobbin can cause thread tangling, leading to a jam. Regularly check your bobbin and make adjustments as needed!
Lint accumulation can also cause your machine to jam. Regular cleaning and maintenance are essential to avoid this problem. Make it a habit to clean your machine after every few projects. This simple step ensures optimal performance and longevity for your sewing machine.
Uneven stitching can affect the quality of your finished project, leaving you feeling unsatisfied with your hard work. This issue can arise from incorrect tension, a dull needle, or even improper fabric feeding. To enhance your sewing skills, always check your tension settings, replace dull needles, and ensure your fabric is feeding smoothly through the machine.
Unusual noises from your sewing machine can indicate underlying problems. If your machine starts sounding like a lawnmower, it's time to investigate! Identifying the source of the noise is key to resolving potential issues. It could be a sign of a loose part, lack of lubrication, or even a mechanical malfunction. Addressing these sounds early can save you from bigger problems down the road.
- How often should I clean my sewing machine? It's best to clean your machine after every few projects or at least once a month.
- What type of needle should I use for quilting? A quilting needle is recommended as it has a special tapered point designed for multiple layers of fabric.
- Why does my sewing machine keep jamming? Jamming can occur due to bobbin issues, lint build-up, or improper threading. Regular maintenance can help prevent this.
- How do I know if my needle is dull? If you notice skipped stitches or the fabric is not feeding properly, it might be time to replace your needle.
Thread Bunching
This article explores frequent issues encountered with sewing machines and provides practical solutions to troubleshoot and resolve these problems, ensuring smooth and efficient sewing experiences for users.
is a common issue that can cause frustration for sewists of all skill levels. Imagine you're in the zone, creating a beautiful piece of fabric art, and suddenly, your machine starts to spit out a tangled mess of thread. It's enough to make anyone want to throw in the towel! Understanding the causes of thread bunching and how to fix it can save you time and improve your sewing results dramatically.
One of the primary reasons for thread bunching is improper threading. If the thread isn't correctly threaded through the machine, it can lead to knots and tangles. Always refer to your machine's manual to ensure you're following the correct threading path. Sometimes, even a small misalignment can create significant issues. Think of it like trying to follow a map with a wrong turn; you'll end up lost!
Another culprit behind thread bunching is the tension settings. If your tension is too loose, the thread may not feed evenly, resulting in a bunch of fabric and thread chaos. Conversely, if it's too tight, it can break the thread or create puckering. Adjusting the tension can feel like a balancing act, but with a little patience, you'll find that sweet spot. It's like tuning a musical instrument; once it's just right, everything flows beautifully!
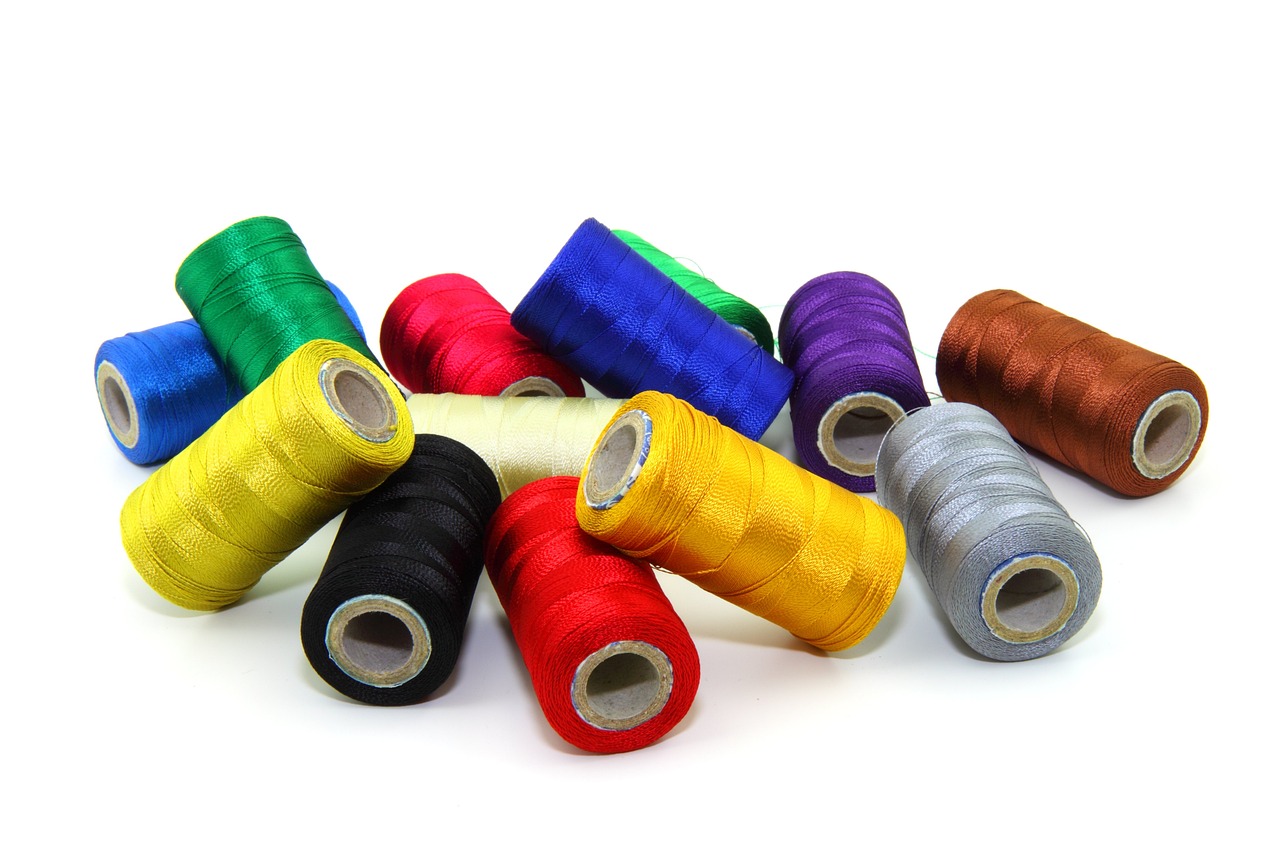
Additionally, using the wrong type of thread can also lead to bunching. For instance, if you're sewing lightweight fabrics with heavy-duty thread, you might run into problems. Always choose a thread that complements your fabric type. Here's a quick reference table for thread types:
| Fabric Type | Recommended Thread Type |
|---|---|
| Lightweight Fabrics | 60wt Polyester or Cotton |
| Medium Weight Fabrics | 40wt Polyester or Cotton |
| Heavyweight Fabrics | 30wt Polyester or Cotton |
Finally, don't overlook the importance of regular maintenance. Lint and debris can build up in your machine, affecting its performance and leading to thread bunching. Make it a habit to clean your machine regularly, especially around the bobbin area and feed dogs. A clean machine is a happy machine!
In summary, thread bunching can be a pesky problem, but with a little knowledge and attention to detail, you can tackle it head-on. Remember to check your threading, adjust your tension, use the right thread, and maintain your machine. Soon enough, you'll be sewing without a hitch!
- What should I do if my thread keeps bunching?
Check your threading, adjust the tension, and ensure you're using the correct thread type for your fabric.
- How often should I clean my sewing machine?
It's best to clean your machine after every few projects or at least once a month to prevent lint buildup.
- Can using old thread cause problems?
Yes, old or brittle thread can break easily and lead to bunching. Always use fresh thread when possible.
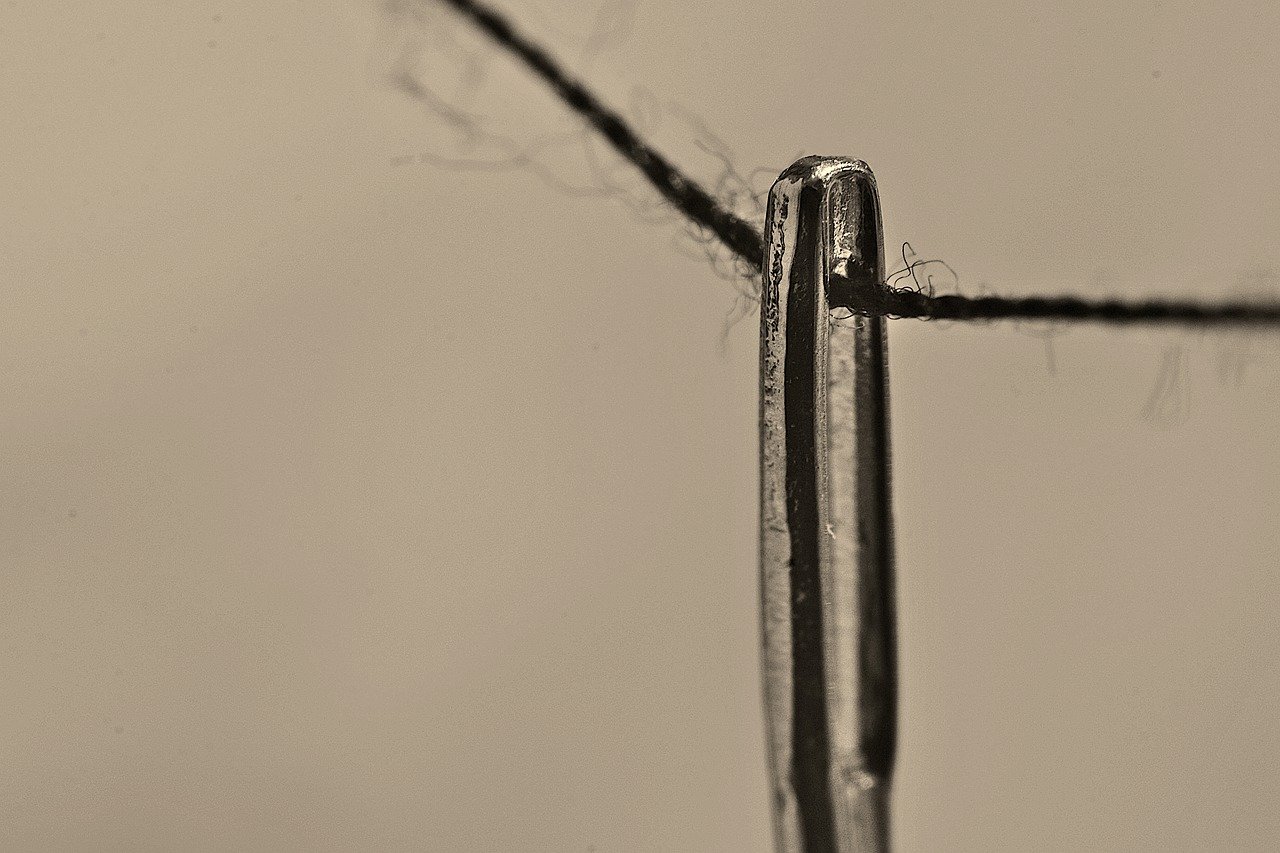
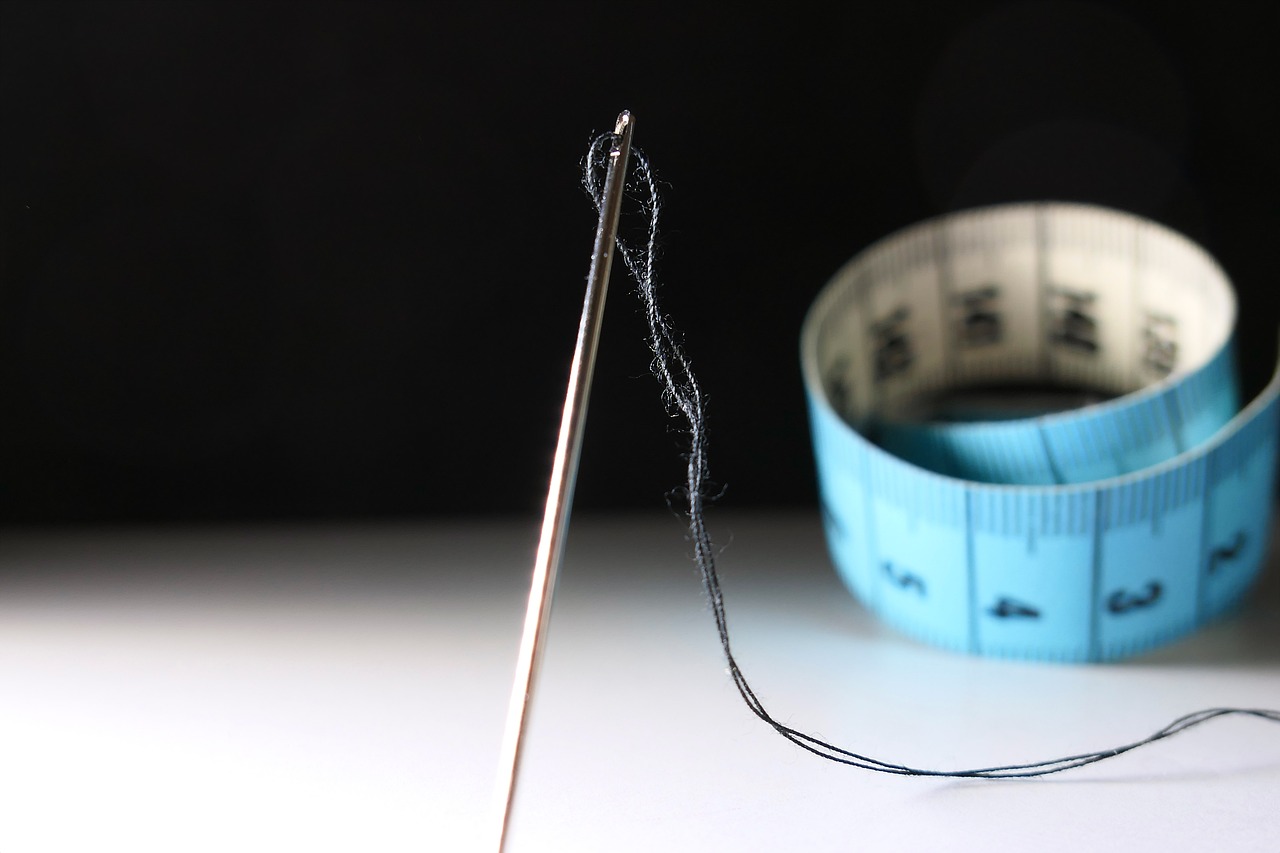
Needle Breakage
Needle breakage can be a real showstopper when you're in the middle of a sewing project. Imagine you're stitching away, completely absorbed in your work, and suddenly, your needle snaps! It's not just annoying; it can also set you back on your timeline. Understanding the reasons behind needle breakage is crucial for maintaining a smooth sewing experience. There are several factors that can contribute to this problem, and knowing how to address them can save you both time and frustration.
One of the primary reasons for needle breakage is using the incorrect needle type for your fabric. Each fabric has its own characteristics, and using a needle that isn't suited for the material can lead to breakage. For instance, if you're working with delicate fabrics like silk, a sharp needle is essential, while heavier fabrics like denim require a thicker needle. Always check the needle package for recommendations based on your fabric type.
Another common culprit is needle installation issues. If your needle isn't installed correctly, it can shift during sewing, leading to breakage. Make sure the needle is inserted all the way up into the holder and tightened securely. A simple twist of the screwdriver can make a world of difference!
Fabric thickness also plays a significant role in needle durability. If you're sewing through multiple layers of thick fabric or materials like leather, your needle might struggle to penetrate, resulting in breakage. To avoid this, consider using a needle designed for heavy fabrics, which is usually labeled as a "jeans" or "denim" needle. This type of needle is stronger and can handle the extra stress.
Here’s a quick summary of the main reasons for needle breakage:
- Incorrect needle type for the fabric
- Improper needle installation
- Excessive fabric thickness
By paying attention to these factors, you can significantly reduce the occurrence of needle breakage. Regularly replacing your needles, especially if you notice any signs of wear or bending, is also a good practice. Remember, a well-maintained needle not only improves your sewing experience but also enhances the overall quality of your projects.
In conclusion, needle breakage doesn’t have to be a dreaded part of sewing. With a bit of knowledge and the right tools, you can keep your projects running smoothly. So, the next time you hear that dreaded snap, you'll know exactly what to check and how to fix it!
Q: How often should I change my sewing machine needle?
A: It's recommended to change your needle after every 8 hours of sewing or after completing a project, especially if you've been working with thicker fabrics.
Q: What type of needle should I use for quilting?
A: For quilting, a quilt needle is ideal as it has a slightly rounded tip to prevent snagging on multiple layers of fabric.
Q: Can I use a universal needle for all types of fabric?
A: While a universal needle can work for many fabrics, it's best to use specific needles for specific materials to avoid breakage and ensure quality stitching.
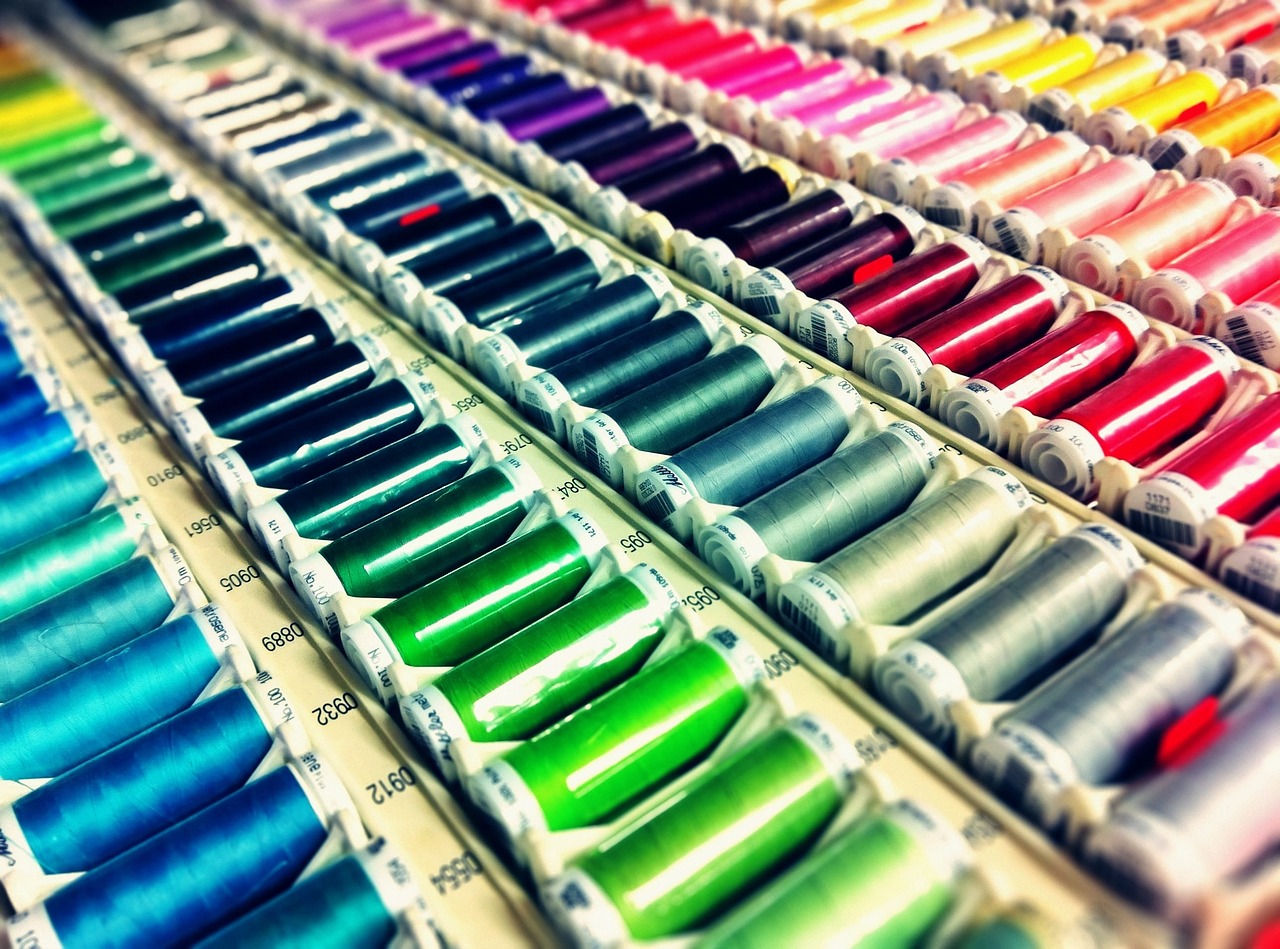
Incorrect Needle Type
Using the wrong needle type for your fabric can lead to a multitude of issues, including needle breakage, skipped stitches, and even fabric damage. Imagine trying to slice a perfectly ripe tomato with a dull knife; the results are messy and frustrating. Similarly, using an inappropriate needle can hinder your sewing experience and compromise the quality of your work.
So, how do you determine the right needle for your project? First, it's essential to understand that sewing needles come in various types, each designed for specific tasks. For instance, a universal needle is a great all-rounder, suitable for most woven and knit fabrics. However, if you're working with delicate materials like silk or chiffon, a microtex needle would be a better choice due to its sharp point, which allows for clean stitching without damaging the fabric.
Here's a quick breakdown of some common needle types and their uses:
| Needle Type | Best For |
|---|---|
| Universal | Woven and knit fabrics |
| Ballpoint | Knits and stretch fabrics |
| Microtex | Delicate fabrics like silk |
| Jeans/Denim | Thick fabrics like denim |
| Embroidery | Embroidery projects |
Another critical aspect to consider is the needle size. Needle sizes vary, typically from 60/8 to 120/19, and choosing the correct size is just as important as choosing the right type. For lightweight fabrics, a smaller needle (like 70/10) is ideal, while thicker materials require larger needles (like 90/14 or 100/16). Using a needle that is too large for your fabric can create holes, while a needle that is too small may bend or break.
To sum it up, taking the time to select the correct needle type and size can significantly improve your sewing experience. It’s like choosing the right tool for a job; using a hammer to drive in screws might work in a pinch, but it won't give you the best results. So, next time you sit down to sew, remember to check your needle—it could make all the difference!
Needle Installation Issues
When it comes to sewing, the needle is your best friend, but it can also be the source of many headaches if not installed correctly. Imagine trying to drive a car with a flat tire; it just won't work well, right? Similarly, a poorly installed needle can lead to all sorts of problems during your sewing project. One of the most common issues arises when the needle is not securely fastened in the machine. If the needle isn't locked in place, it can wobble or shift as you sew, leading to skipped stitches or even breakage. To prevent this, ensure that you are inserting the needle with the flat side facing the back of the machine and that it is pushed all the way up into the holder before tightening the screw.
Another critical aspect to consider is the orientation of the needle. Did you know that there's a right and a wrong way to install a needle? If you insert it backward, you might find yourself in a world of trouble, with constant thread jams and uneven stitching. Always double-check that the needle is aligned correctly according to your machine's specifications. If you're unsure, consulting your sewing machine manual can be a lifesaver, providing you with detailed instructions tailored to your specific model.
Additionally, using the right size needle for your project is vital. A needle that’s too large for your fabric can cause unnecessary strain, while one that's too small may bend or break under pressure. For instance, if you're working with lightweight cotton, a size 70/10 needle is typically appropriate, whereas thicker fabrics like denim may require a size 90/14 or even larger. By matching the needle size to your fabric, you can significantly reduce the risk of installation issues and enhance your overall sewing experience.
In summary, to avoid needle installation issues, remember to:
- Ensure the needle is securely fastened and pushed all the way up.
- Check the orientation of the needle before tightening it.
- Choose the correct needle size for the fabric you’re using.
By paying attention to these details, you can enjoy a smoother, more efficient sewing experience, allowing your creativity to shine without the frustration of constant interruptions. So, the next time you set up your sewing machine, take a moment to ensure everything is in place; your future self will thank you!
Q: How often should I change my sewing machine needle?
A: It’s recommended to change your needle after every 8 hours of sewing or whenever you notice any issues like skipped stitches or fabric damage.
Q: Can I use any needle for any fabric?
A: No, different fabrics require different needle types. Always choose a needle that matches the fabric type for optimal results.
Q: What should I do if my needle keeps breaking?
A: Check for proper installation, ensure you’re using the correct needle size, and inspect for any obstructions in the machine.
Fabric Thickness
When it comes to sewing, one of the most significant factors that can affect your success is . It's like trying to drive a sports car on a rugged mountain trail; if you don't have the right tires (or in this case, the right needle), you're bound to face some serious challenges. Sewing through thick layers of fabric can put a lot of strain on your needle, leading to breakage and frustration. So, how do you ensure you're using the right needle for the job?
First, it’s essential to understand that different fabrics have varying thicknesses, and each type requires a specific needle size and type. For instance, delicate fabrics like silk or chiffon require a fine needle, while heavier fabrics like denim or canvas need a thicker needle. Here’s a quick reference table to help you choose the right needle based on fabric thickness:
| Fabric Type | Recommended Needle Size | Needle Type |
|---|---|---|
| Lightweight (Silk, Chiffon) | 60/8 to 70/10 | Universal or Microtex |
| Medium Weight (Cotton, Linen) | 70/10 to 80/12 | Universal |
| Heavyweight (Denim, Canvas) | 90/14 to 100/16 | Jeans or Heavy-Duty |
Additionally, if you're working with multiple layers of fabric, such as when quilting, it's advisable to use a needle that can handle the extra thickness. A walking foot can also be a game-changer in these situations, as it helps feed multiple layers evenly through the machine, reducing the risk of skipped stitches or needle breakage.
Another critical aspect to consider is the sewing machine settings. Adjusting the tension and stitch length according to the fabric thickness can make a world of difference. A tighter tension might be necessary for thicker fabrics to ensure the stitches hold securely, while a longer stitch length can help prevent the needle from getting stuck or breaking.
In summary, understanding fabric thickness is crucial for a smooth sewing experience. Always be mindful of the type of fabric you’re working with, choose the appropriate needle, and adjust your machine settings accordingly. This way, you’ll not only avoid the frustration of needle breakage but also achieve beautifully finished projects that you can be proud of!
- What happens if I use the wrong needle for my fabric?
Using the wrong needle can lead to issues such as skipped stitches, fabric damage, and needle breakage. - How do I know which needle size to use?
Refer to the fabric type and thickness. Lighter fabrics require smaller needles, while heavier fabrics need larger needles. - Can I use the same needle for all types of fabric?
While you can use a universal needle for many fabrics, it’s best to choose a needle specifically designed for the fabric type for optimal results.
Skipped Stitches
Skipped stitches can be one of the most frustrating issues you encounter while sewing. Imagine working diligently on a beautiful quilt or a stylish dress, only to find that your sewing machine is leaving gaps in your stitching. It's like trying to read a book with missing pages—utterly annoying! Fortunately, understanding the causes behind skipped stitches can help you tackle this problem head-on and keep your projects on track.
One of the primary reasons for skipped stitches is the incorrect needle type. Just like using the wrong tool can make a job harder, using the wrong needle can lead to all sorts of issues. For instance, if you’re sewing with lightweight fabrics like silk, using a heavy-duty needle can result in skipped stitches. Always ensure that you’re using the appropriate needle for your fabric type. Here’s a quick reference table to help you choose the right needle:
| Fabric Type | Recommended Needle Type |
|---|---|
| Lightweight (Silk, Tulle) | Universal Needle 60/8 or 70/10 |
| Medium Weight (Cotton, Linen) | Universal Needle 80/12 |
| Heavyweight (Denim, Canvas) | Jeans/Denim Needle 90/14 |
Another common culprit behind skipped stitches is thread tension. If your thread tension is too tight, it can cause the needle to struggle, leading to missed stitches. On the other hand, if the tension is too loose, the thread may not catch properly, also resulting in skipped stitches. It's essential to find the right balance. Most machines have a tension dial that allows you to adjust the tension easily. A good rule of thumb is to test your tension on a scrap piece of fabric before diving into your main project.
Additionally, poorly wound bobbins can contribute to this issue. If your bobbin is unevenly wound or if there’s lint caught in it, it can disrupt the flow of thread, causing skipped stitches. Regularly check your bobbin and ensure it’s wound evenly and inserted correctly. If you notice any lint buildup, take a moment to clean it out—your sewing machine will thank you!
Finally, don’t overlook the importance of your sewing machine's maintenance. Just like a car needs regular oil changes, your sewing machine requires cleaning and lubrication to function optimally. Dust and lint can accumulate in the machine, affecting the needle's movement and leading to skipped stitches. Make it a habit to clean your machine after every few projects, and you’ll likely see a significant improvement in performance.
In conclusion, skipped stitches can be a real pain, but with a little knowledge and proactive maintenance, you can keep your sewing projects running smoothly. Remember to choose the right needle, adjust your thread tension, check your bobbin, and maintain your machine regularly. Happy sewing!
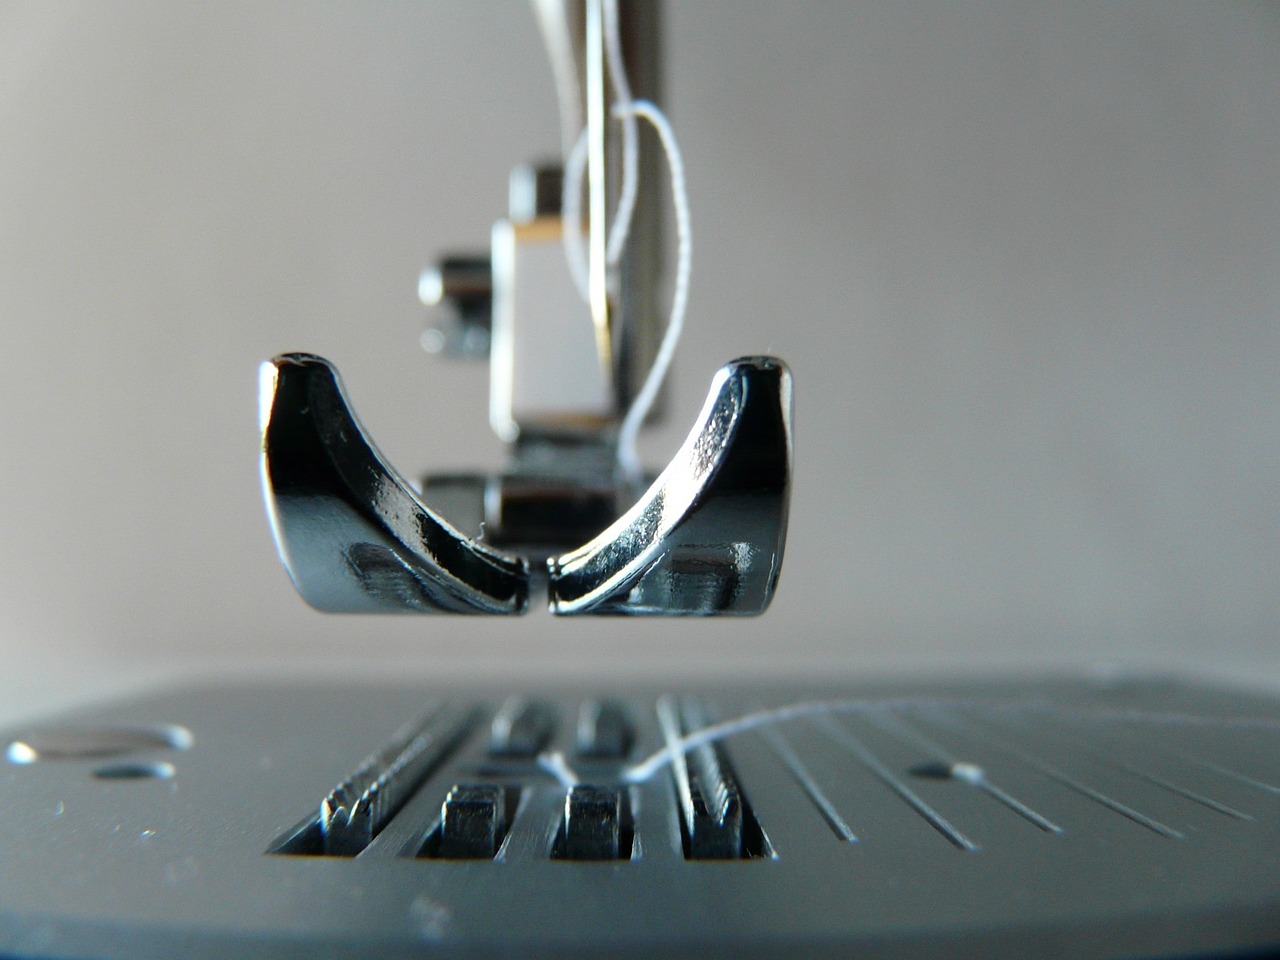
Machine Jamming
Ah, the dreaded machine jamming! It’s like hitting a brick wall in the middle of a creative flow. You’re stitching away, lost in your project, and suddenly, your sewing machine decides to throw a tantrum. This common issue can disrupt your workflow and, if not addressed, can lead to more significant problems down the line. But fear not! Understanding the typical causes of machine jamming can help you troubleshoot effectively and get back to your sewing in no time.
One of the primary culprits behind machine jamming is bobbin issues. If the bobbin isn't wound correctly or isn't inserted properly, it can lead to tangles and knots that cause the machine to jam. To avoid this, make sure you follow these steps when handling your bobbin:
- Winding the Bobbin: Ensure that your thread is wound evenly and not too loosely. A poorly wound bobbin can lead to uneven tension.
- Inserting the Bobbin: Check that the bobbin is placed in the correct direction. Many machines have a diagram to guide you.
Another significant factor in machine jamming is lint build-up. Over time, tiny fibers and dust can accumulate in your sewing machine, particularly around the bobbin case and feed dogs. This build-up can obstruct the moving parts, leading to frustrating jams. To keep your machine running smoothly, regular cleaning is essential. Here’s a quick guide:
| Cleaning Step | Description |
|---|---|
| Remove the Bobbin Case | Take out the bobbin and its case to access the interior of the machine. |
| Use a Brush | Gently brush away lint and debris using a small, soft brush. |
| Check the Feed Dogs | Inspect the feed dogs for any trapped threads or lint and clean as necessary. |
| Reassemble | Carefully put everything back together, ensuring all parts are secure. |
Lastly, don’t overlook the importance of regular maintenance. Just like a car, your sewing machine requires periodic check-ups to function at its best. Make it a habit to oil your machine as recommended by the manufacturer, and always refer to the user manual for specific maintenance tips. By taking these proactive steps, you can significantly reduce the chances of machine jamming and keep your sewing adventures flowing smoothly.
In conclusion, while machine jamming can be a frustrating setback, understanding its causes and knowing how to address them can turn a potential disaster into a minor inconvenience. So, next time your machine decides to jam, you’ll be well-equipped to tackle the issue head-on and get back to creating beautiful projects!
Bobbin Issues
Bobbin issues are among the most frequent culprits behind sewing machine jams, and they can be a real headache for anyone trying to complete a project. Imagine you’re in the middle of sewing a beautiful quilt, and suddenly, your machine starts making that dreaded grinding noise. What’s happening? More often than not, it’s related to the bobbin. Understanding how to properly manage your bobbin can save you a lot of time and frustration.
One of the most common bobbin issues is improper winding. If the bobbin is not wound evenly, it can cause tension problems, leading to thread bunching or even jamming. To ensure your bobbin is wound correctly, follow these steps:
- Start with a clean bobbin and make sure it’s compatible with your machine.
- Wind the thread evenly, avoiding any loose or overlapping threads.
- Always refer to your sewing machine’s manual for specific winding instructions.
Another common issue arises from incorrect bobbin placement. If the bobbin isn’t inserted properly into the case, it can cause the machine to jam. Make sure the bobbin is placed in the right direction, as indicated by your machine’s manual. A simple flip can make a world of difference!
Additionally, it’s essential to check the bobbin case for lint and debris. Over time, dust and lint can accumulate, leading to jamming. Regular cleaning of the bobbin area is crucial for maintaining your machine’s performance. To clean the bobbin area:
- Remove the bobbin and the bobbin case.
- Use a soft brush or a lint roller to gently remove any buildup.
- Reinsert the bobbin and case securely before starting your project.
Lastly, if you notice that your thread keeps breaking or the machine is making unusual sounds, it might be time to replace your bobbin. Worn or damaged bobbins can lead to a variety of issues, so always keep a few spares on hand. By taking these simple steps, you can minimize bobbin-related problems and enjoy a smoother sewing experience.
Q1: How often should I clean my sewing machine's bobbin area?
A1: It's a good practice to clean the bobbin area after every few sewing sessions or whenever you notice lint buildup.
Q2: What should I do if my bobbin keeps jamming?
A2: Check if the bobbin is wound evenly, ensure it’s inserted correctly, and clean the bobbin case to remove any lint.
Q3: Can I use any bobbin with my sewing machine?
A3: No, always use the bobbin type recommended in your sewing machine’s manual to avoid compatibility issues.
Q4: How can I tell if my bobbin is worn out?
A4: Look for cracks or warping in the bobbin. If it feels rough or doesn’t fit snugly in the case, it’s time to replace it.
Lint Build-Up
Lint build-up is a sneaky culprit that can wreak havoc on your sewing machine’s performance. Just like how dust bunnies take over your living room if left unchecked, lint can accumulate in your machine, causing all sorts of issues including thread jams and uneven stitching. It’s easy to overlook this problem, especially when you’re caught up in the excitement of a new project, but neglecting to clean your machine regularly can lead to frustration and costly repairs.
So, why does lint accumulate in the first place? Every time you sew, tiny fibers from your fabric are released and can get trapped inside your machine. Over time, these fibers build up, particularly in areas like the bobbin case and feed dogs. Think of it like a clog in a drain; if you don’t clear it out, water (or in this case, your sewing thread) can’t flow freely. This can lead to machine jamming, which disrupts your workflow and can even damage your beloved sewing machine.
To keep your sewing machine in tip-top shape, regular maintenance is key. Here are some essential tips to help you manage lint build-up:
- Clean After Every Project: Make it a habit to clean your machine after completing a sewing project. It only takes a few minutes and can save you a lot of headaches down the line.
- Use a Brush: Invest in a small brush designed for sewing machines. This will help you reach those tight spots and effectively remove lint and dust.
- Check the Bobbin Area: The bobbin case is a common area for lint accumulation. Open it up and give it a good clean to prevent jamming.
- Vacuum Regularly: Use a handheld vacuum with a soft brush attachment to gently clean around your machine. This will help pick up any stray fibers that may have settled on the surface.
Additionally, consider scheduling a professional servicing for your sewing machine at least once a year. Just like a car needs regular tune-ups, your sewing machine will benefit from professional attention to ensure it runs smoothly. Remember, a clean machine is a happy machine!
Q: How often should I clean my sewing machine?
A: Ideally, you should clean your sewing machine after every project. However, if you sew frequently, a more thorough cleaning every few weeks may be beneficial.
Q: Can I use compressed air to clean my sewing machine?
A: While compressed air can help remove lint, it can also push debris further into the machine. It’s best to use a soft brush and a vacuum for effective cleaning.
Q: What should I do if my sewing machine is still jamming after cleaning?
A: If your machine continues to jam, it may be time to check the needle, thread tension, or even consult a professional for servicing.
Uneven Stitching
Uneven stitching can be one of the most frustrating issues you encounter while sewing. Imagine spending hours on a project only to step back and see that the stitches are inconsistent, creating a less-than-professional finish. This problem can arise from a variety of factors, and understanding these can greatly improve your sewing experience. So, let's dive into the common causes of uneven stitching and how you can fix them!
One of the primary culprits behind uneven stitching is incorrect tension settings. Tension refers to how tightly the thread is pulled through the machine, and if it's too loose or too tight, it can result in stitches that are unevenly spaced. To fix this, you can adjust the tension dial on your sewing machine. A good rule of thumb is to start with the manufacturer's recommended tension settings and then make small adjustments as needed. Remember, testing on a scrap piece of fabric is a great way to gauge if your adjustments are effective.
Another common cause of uneven stitches is the quality of the thread you are using. Low-quality or old thread can fray and break, leading to inconsistent stitching. It's always a good idea to invest in high-quality thread that is appropriate for your fabric type. Additionally, check to ensure that the thread is properly threaded through the machine, as any misalignment can lead to uneven stitches.
Additionally, needle issues can play a significant role in stitching inconsistencies. Using a needle that is dull or damaged can cause skipped stitches and uneven tension. Make sure to replace your needle regularly, especially if you notice a change in your stitching quality. It’s also important to choose the right needle type for your fabric. For example, using a universal needle for lightweight fabrics may not yield the best results. Refer to the following table for a quick guide on needle types:
| Fabric Type | Recommended Needle Type |
|---|---|
| Lightweight Fabrics (e.g., silk, chiffon) | Microtex Needle |
| Medium-weight Fabrics (e.g., cotton, linen) | Universal Needle |
| Heavyweight Fabrics (e.g., denim, canvas) | Jeans/Denim Needle |
Lastly, don't overlook the importance of maintaining a steady sewing speed. Sewing too quickly can cause uneven stitches, as your machine may struggle to keep up with your pace. Try to maintain an even speed, especially when navigating curves or corners. If you're sewing intricate designs, consider slowing down to ensure precision.
In conclusion, tackling uneven stitching involves a combination of proper tension settings, high-quality materials, the right needle, and maintaining a steady pace. By being mindful of these factors, you can significantly enhance the quality of your sewing projects. Remember, practice makes perfect, so don’t get discouraged if it takes a little time to master these techniques. Happy sewing!
Q: What should I do if my machine keeps skipping stitches?
A: Skipped stitches can often be resolved by changing to a new needle, ensuring the thread is threaded correctly, and checking the tension settings.
Q: How often should I clean my sewing machine?
A: It's advisable to clean your sewing machine after every few projects or at least once a month to prevent lint build-up and maintain optimal performance.
Q: Can using the wrong thread affect my stitching?
A: Absolutely! Using low-quality or inappropriate thread can lead to uneven stitches and may even damage your machine over time.

Machine Noise
This article explores frequent issues encountered with sewing machines and provides practical solutions to troubleshoot and resolve these problems, ensuring smooth and efficient sewing experiences for users.
Thread bunching is a common issue that can cause frustration. Understanding its causes and how to fix it can save time and improve sewing results.
Needle breakage can halt your sewing project unexpectedly. Learning the reasons behind this problem will help you prevent it and ensure a smoother sewing process.
Using the wrong needle type for your fabric can lead to breakage. Identifying the appropriate needle for your project is crucial for successful sewing.
Improper needle installation can cause breakage. Ensuring the needle is securely and correctly placed can significantly reduce this problem.
Sewing through thick layers of fabric can strain the needle. Understanding how to choose the right needle for varying fabric thicknesses can prevent breakage.
Skipped stitches are a common annoyance that can ruin your sewing project. Identifying the causes and solutions can help maintain consistent stitching.
Machine jamming can disrupt your workflow and cause damage. Recognizing common jamming issues and their fixes can help keep your sewing machine running smoothly.
Problems with the bobbin can often lead to jamming. Learning how to correctly wind and insert the bobbin can prevent this issue.
Lint accumulation can cause the machine to jam. Regular cleaning and maintenance are essential to avoid this problem and ensure optimal performance.
Uneven stitching can affect the quality of your finished project. Understanding the causes and remedies for this issue can enhance your sewing skills.
Unusual noises from your sewing machine can indicate underlying problems. It's essential to pay attention to these sounds, as they often serve as warning signs that something isn't quite right. For instance, if you hear a grinding noise, it could mean that the machine needs lubrication or that there's a problem with the motor. On the other hand, a clunking sound might indicate that something is loose or out of place. So, what should you do when you hear these noises?
First, it’s important to identify the type of noise and its possible source. Here’s a quick guide:
| Type of Noise | Possible Cause | Solution |
|---|---|---|
| Grinding | Lack of lubrication | Apply sewing machine oil to moving parts. |
| Clunking | Loose parts | Tighten screws and check for loose components. |
| Buzzing | Thread caught in the mechanism | Turn off the machine and remove any obstructions. |
Additionally, if your machine is making a persistent noise, it’s advisable to consult your user manual for troubleshooting tips specific to your model. Regular maintenance can also help prevent these issues from arising in the first place. Just like a car needs oil changes and tune-ups, your sewing machine requires periodic checks and cleaning to keep it running smoothly.
In summary, being attentive to the sounds your sewing machine makes can save you from potential headaches down the line. Remember, a little bit of care goes a long way in ensuring your sewing experience is both enjoyable and successful.
- What should I do if my sewing machine is making a loud noise?
Check for loose parts, ensure proper lubrication, and consult the manual for specific troubleshooting steps. - How often should I clean my sewing machine?
It's recommended to clean your machine after every project or at least once a month if used regularly. - Can thread type affect machine noise?
Yes, using the wrong type of thread can lead to tension issues that may cause unusual noises.
Frequently Asked Questions
- What causes thread bunching in my sewing machine?
Thread bunching can occur due to several reasons, including incorrect tension settings, improper threading, or using the wrong needle type. To fix this, check your machine's threading, adjust the tension, and ensure you're using the right needle for your fabric.
- How can I prevent needle breakage?
Needle breakage can be avoided by selecting the correct needle type for your fabric, ensuring it is installed properly, and not sewing through overly thick layers. Always use a needle that matches the weight and type of fabric you're working with.
- What should I do if my sewing machine is jamming?
If your machine is jamming, check for issues with the bobbin, such as incorrect winding or insertion. Additionally, look for lint build-up in the machine and clean it regularly to ensure smooth operation.
- Why is my sewing machine making unusual noises?
Unusual noises can indicate several issues, such as a lack of lubrication, misalignment, or foreign objects stuck in the machine. It's essential to identify the source of the noise and perform necessary maintenance to keep your machine in good condition.
- How can I fix uneven stitching?
Uneven stitching can be caused by improper tension, an incorrect needle size, or feeding the fabric unevenly. To remedy this, check your tension settings, ensure you're using the right needle, and practice feeding the fabric consistently through the machine.
- What needle type should I use for different fabrics?
Choosing the right needle type is crucial for successful sewing. For lightweight fabrics, use a fine needle; for medium-weight fabrics, a universal needle works well; and for heavy fabrics, a thicker needle is recommended. Always match your needle to the fabric type for the best results.


